")


Replace the drive shaft on Peugeot 205 GTI
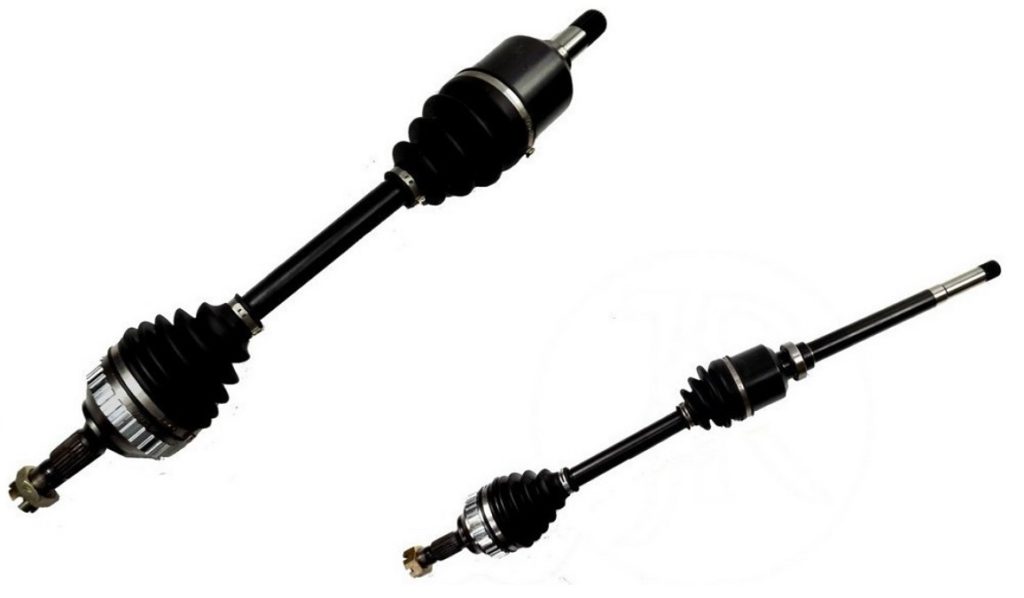
Follow this tutorial to replace the transmission shaft Peugeot 205, C15 et 309
Difficulty :

Steps :
20
Time :
Cost:
180€
- PEUGEOT 205 XA/XAD Van (Année de construction 02.1983 – 07.1987, 60 CH, Essence)
- PEUGEOT 205 I 3/5 portes (Année de construction 02.1983 – 10.1987, 102 – 128 CH, Essence)
- PEUGEOT 205 Cabriolet (Année de construction 04.1986 – 12.1994, 60 – 125 CH, Essence)
- PEUGEOT 205 II 3/5 portes (Année de construction 01.1987 – 09.1998, 60 – 128 CH, Essence)
- PEUGEOT 309 I 3/5 portes (Année de construction 10.1985 – 08.1989, 113 – 131 CH, Essence)
- PEUGEOT 309 II 3/5 portes (Année de construction 07.1989 – 12.1993, 98 – 158 CH, Essence)
- PEUGEOT 405 I Berline (15B) (Année de construction 06.1987 – 12.1992, 95 – 158 CH, Essence)
- PEUGEOT 405 I Break (15E) (Année de construction 06.1987 – 07.1992, 105 – 158 CH, Essence)
- PEUGEOT 505 Berline (Année de construction 06.1986 – 12.1993, 143 CH, Essence)
- PEUGEOT Boxer Minibus (230) (Année de construction 03.1994 – 04.2002, 109 CH, Essence)
- PEUGEOT Boxer Minibus (244) (Année de construction 12.2001 – …, 110 CH, Essence, Essence / gaz combustible liquéfié (GPL))
- PEUGEOT Boxer Сamion à Plateau/Сhâssis (230) (Année de construction 06.1994 – 04.2002, 109 CH, Essence)
- PEUGEOT Boxer Van (230) (Année de construction 06.1994 – 04.2002, 109 CH, Essence)
- PEUGEOT Boxer Van (244) (Année de construction 04.2002 – …, 110 CH, Essence)
Click to find parts & tools necessary for the work.
Cliquez pour retrouver les pièces & outillages nécessaires pour le montage.
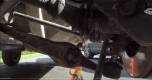
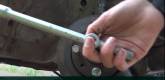
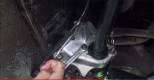
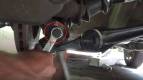
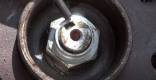
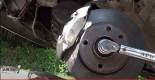
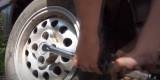
Step 1 : Remove the central transmission nut.


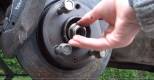
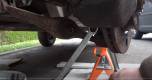
Remove wheels and secure the vehicle with Axle stands,
Remove the central transmission nut by pressing the brake pedal same time.
A lever arm could be necessary to untight it.
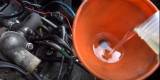
Step 2 : Drain oil gear.


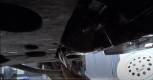
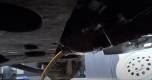
You need to drain the oil gear before to change the transmission shaft. Take off the drain plug and then put it on when the gear is empty.
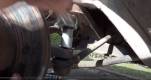
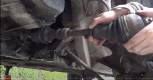
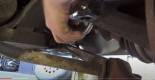
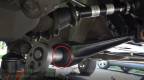
Step 3 : Remove the swingarm 1/1


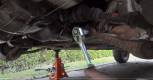
Let’s start with the offside gimbal.
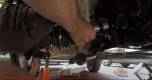
With a ratchet and 17 socket, untight the stabilizing bar.
Take off the swing arm from the steering knuckle with a 17 and 16 sockets.
Then detach the swingarm from the cradle using a wrench and a ratchet.
You can now remove the swingarm.
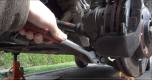
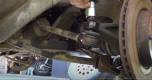
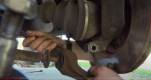
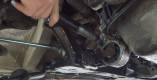
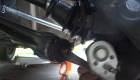
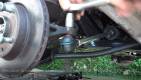
Step 4 : Remove the steering.


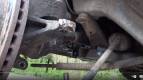
Take off the steering nuts with a 17 mm socket. Hit the underside with a hammer
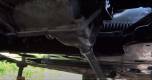
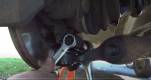
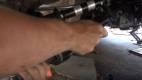
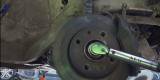
Step 5 : Remove the left transmission shaft.


Then remove the gimbal by hiting the head of the gimbal and pull the disct to remove the gimbal.
You can now remove the gimbal of the gearbox
Step 6 : Dépose du cardan droit.


Near Side Drive Shaft
The steps are similar.
Remove the central transmission nut and push the brake pedal in the same time on the brake pedal.
Take of the steering with a 17 socket
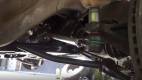
Step 7 : Remove the near side swingarm 2/2


Separate the Swinging arm from the steering knuckle with a 17 and 16 millimeter wrench and ratchet.
Remove the stabilizer bar bolt with a 16 millimeter socket
Then detach the swingarm from the cradle.
You can now remove the swingarm
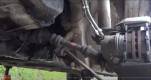
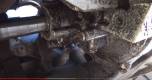
Step 8 : Near Side shaft


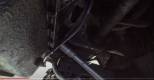
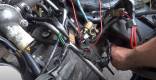
The gimbal being really tight we need to remove the engine mount
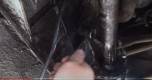
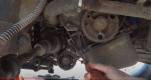
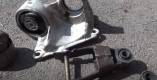
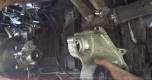
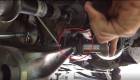
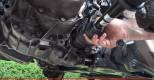
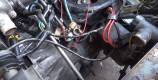
Step 9 : Remove the engine mount. 1/2
You can remove the 4 fixing screws from the motor support using an extension and a 16 mm socket. It will be useful to have a flat key in restricted areas.
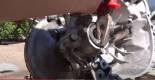
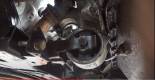
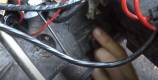
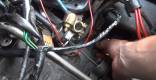
Step 10 : Remove the engine mount 2/2.


You can use a screwdriver to remove the engine mount.
Using a hammer dislodged the engine mount and the gimbal of the gearbox.
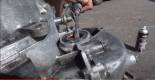
Step 11 : Separate the shaft from the engine mount.

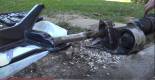
Untight the small screws to remove the gimbal.
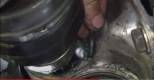
Step 12 : Replace oil seals.


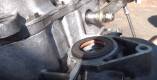

Ya should replace the oil seals when you replacing the gimbbal. To do this, use a screwdriver. Once removed install the new oils seals by hitting them lightly with a socket. Please note this step is delicate. These guarantee of no leaks.
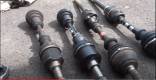
Step 13 : Check compatibility.


You can also remove the silent-bloc on the engine mount.
Step 14 : Install the engine mount.


Once the block silents have been replaced, fix the motor supports following the reverse protocol.
Step 15 : Install the transmission shaft.


Grease the engine mount to facilitate the passage the gimbal in the gearbox hole.
Then put the engine mount screws who block the drive shaft and tight it
Step 16 : Install the swingarm.


install the new swingarm on the cradle and stabilizer bar, then tighten the respective nuts.
It may be necessary to untight the stabilizer bar to insert the ball joint into the knuckle.
Then tighten the fixing screw.
Step 17 : Install the steering.


Install the steering ball joint on the knuckle then tighten it with a 17mm socket.
Step 18 : Tight the central nut.


Tight the transmission nut to 265 nanometers with a torque wrench.
Make sure to block the nut to secure it with a cotter pin.
Step 19 : Install the off Side shaft


You can install the gimbal.
Position the swinging arm, then tighten it as on the other side.Then tighten the steering part.
Don’t forget to tight the stabilizer bar.
Tight the transmission nut to 265nm with a torque wrench
Step 20 : Fill the gearbox.


The replacement of the parts is finished.
You must fill your gearbox.
Remove the gearbox filling nut located above the box then fill with the oil recommended by the manufacturer. This is 75W80.
(Generally 2 Liter are necessary).
Screw the cap back on, then check for any leaks, particularly at the spi seals.